Wednesday, 14 November 2012

A trip to Scotland and Haul!


The last few days I have been staying in sunny Scotland with some relatives, and while out there we had a day trip to Glasgow town centre. It's strange because this was actually my first visit to Glasgow, even though I've been to Scotland many times in my life, and wow have I been missing out. As soon as I stepped out of the train station, amazing shops sprung up all around me. Needless to say, I was in heaven! The town is large, but not as busy as, for example, London, which makes it much easier to take your time and look around.

Above are some pictures of us having a break from shopping, sipping a Grande Hot Chocolate with cream from Starbucks, I felt so snug! Then later I had a delicious bowl of Leek, Potato and Stilton Soup with brown bread and a pot of tea. Such comfort food for the cold North!

Here is what I purchased on our lovely trip to Glasgow!

Doctor Martens 8 Tie Boot in Black
£100 


Ok, so definitely my most extravagant purchase of the trip. They are pricey, but I have been saving up for these boots for a long time now. I love the signature yellow stitching, and the way they look when they are worn in. From what I hear, that is when they get super comfy. It seems I am just going to have to wear them none stop from now on, not exactly a hardship for me!  
I plan on having these boots for years to come, they are timeless, can be worn with any outfit, and are completely classic.

Liz Earle Skin Repair Moisturiser for Normal/Combination Skin
£18.75


This is actually a repurchase. I bought this moisturiser a few months ago and am just about to run out so thought that I should prepare! The Liz Earle moisturiser really sticks to its word: it intensely moisturises, smoths and protects. Before I added this to my skin care routine, I was getting quite down about the quality of my skin. However, with continuous use, the moisturiser slowly repaired any scarring or redness, leaving me with incredibly nourished soft skin and a glowing complexion.  I highly recommend this product. Even more so because it is completely animal friendly.

H'suan Wen Hua Hair Treatment By Lush
£8.95


Since my hair has grown, I am finding it harder and harder to keep it in good condition. I love my hair feeling silky and soft, and had heard that deep conditioning your hair helps to strengthen and protect it. So when I stumbled upon this treatment which claims to "improve the condition, lustre and compatibility of hair", I did some research and found some glowing reviews, which was all I needed to decide to try it! The good thing about Lush is all their products are handmade fresh, using little preservatives, and again, a major plus in my book, they are animal friendly! I'll let you know how the treatment goes.

Topshop Earrings
£1.50


I have been looking for a pair of fake flesh tunnel earrings for a while now. While I actually think real flesh tunnels do look really good on other people, I would never be brave enough to have them myself, so I guess this is the only alternative! And for this price how could I say no?!
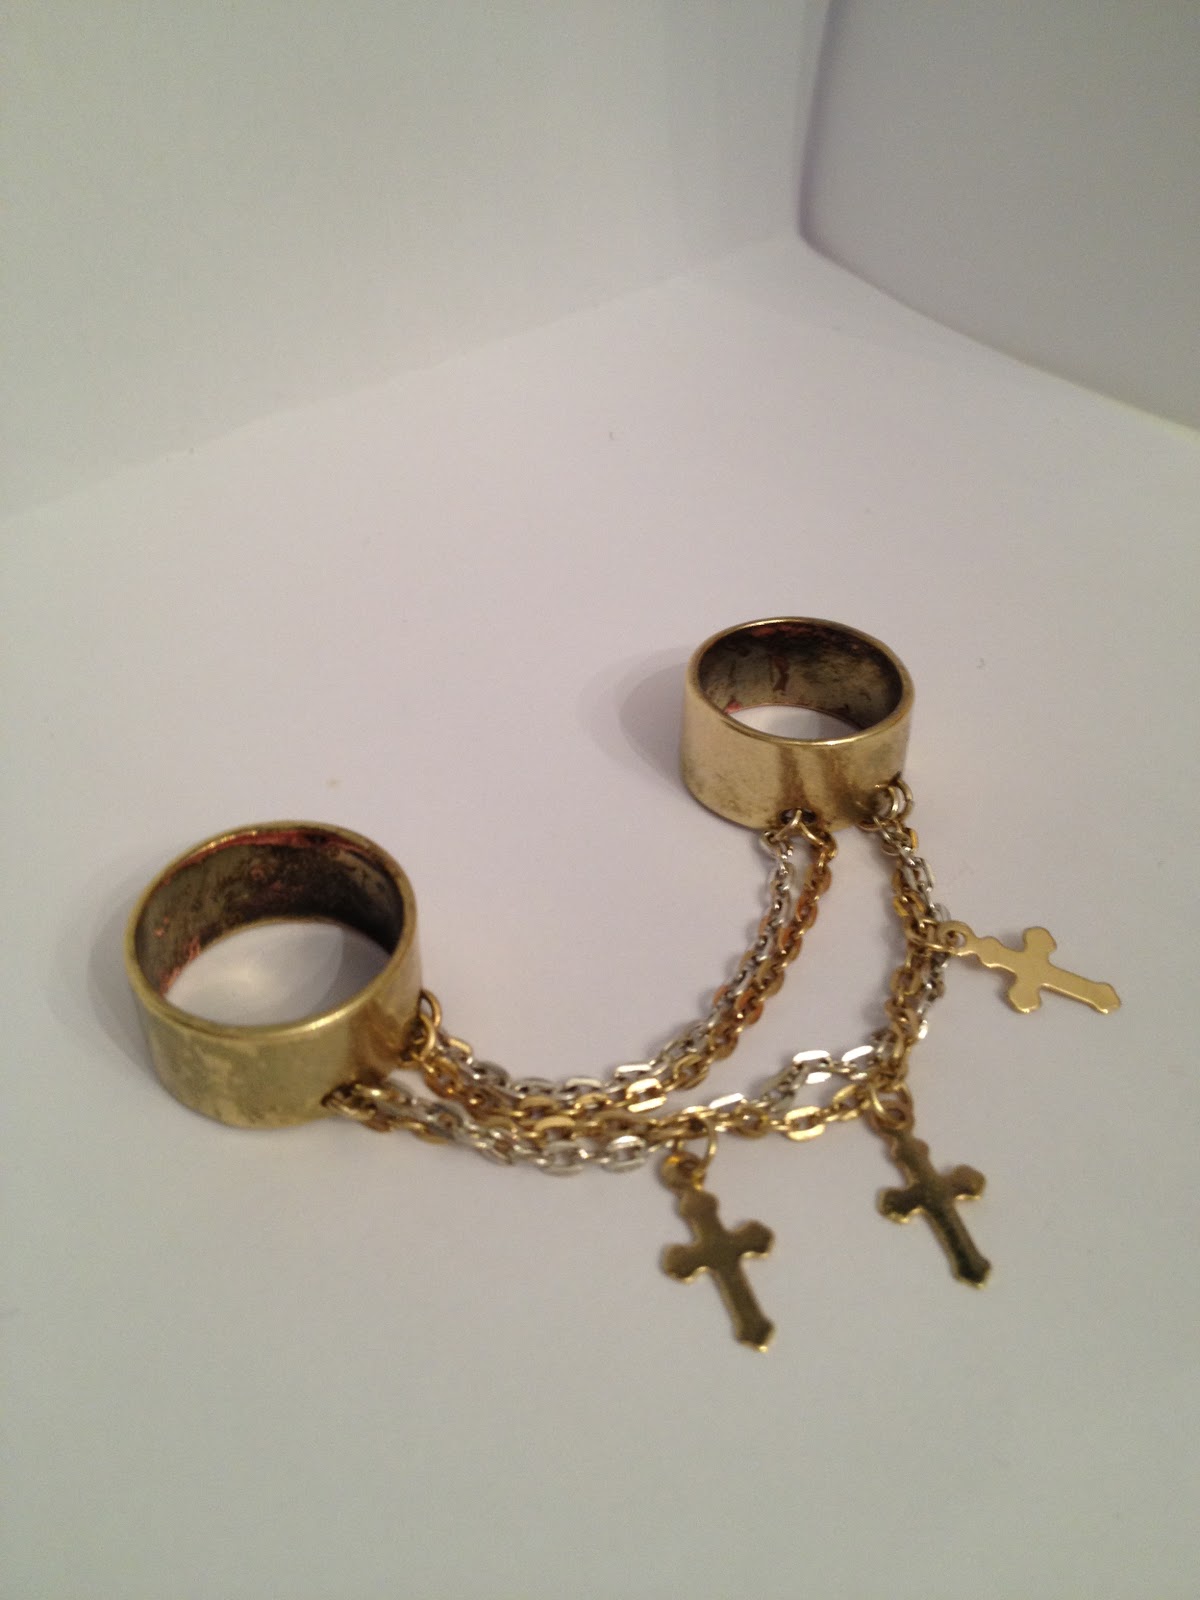
Ring from Topshop
£2.50


Again, another "so cheap how could I say no" buy! I have wanted one of these rings ever since my sister bought one recently. There is one ring which is larger for your index finger, and a smaller ring for the second finger in from your smallest. It can be seen in the picture above of me holding my hot chocolate!

Jack Wills Dormastown Classic Sweatpant in Navy
£49.50


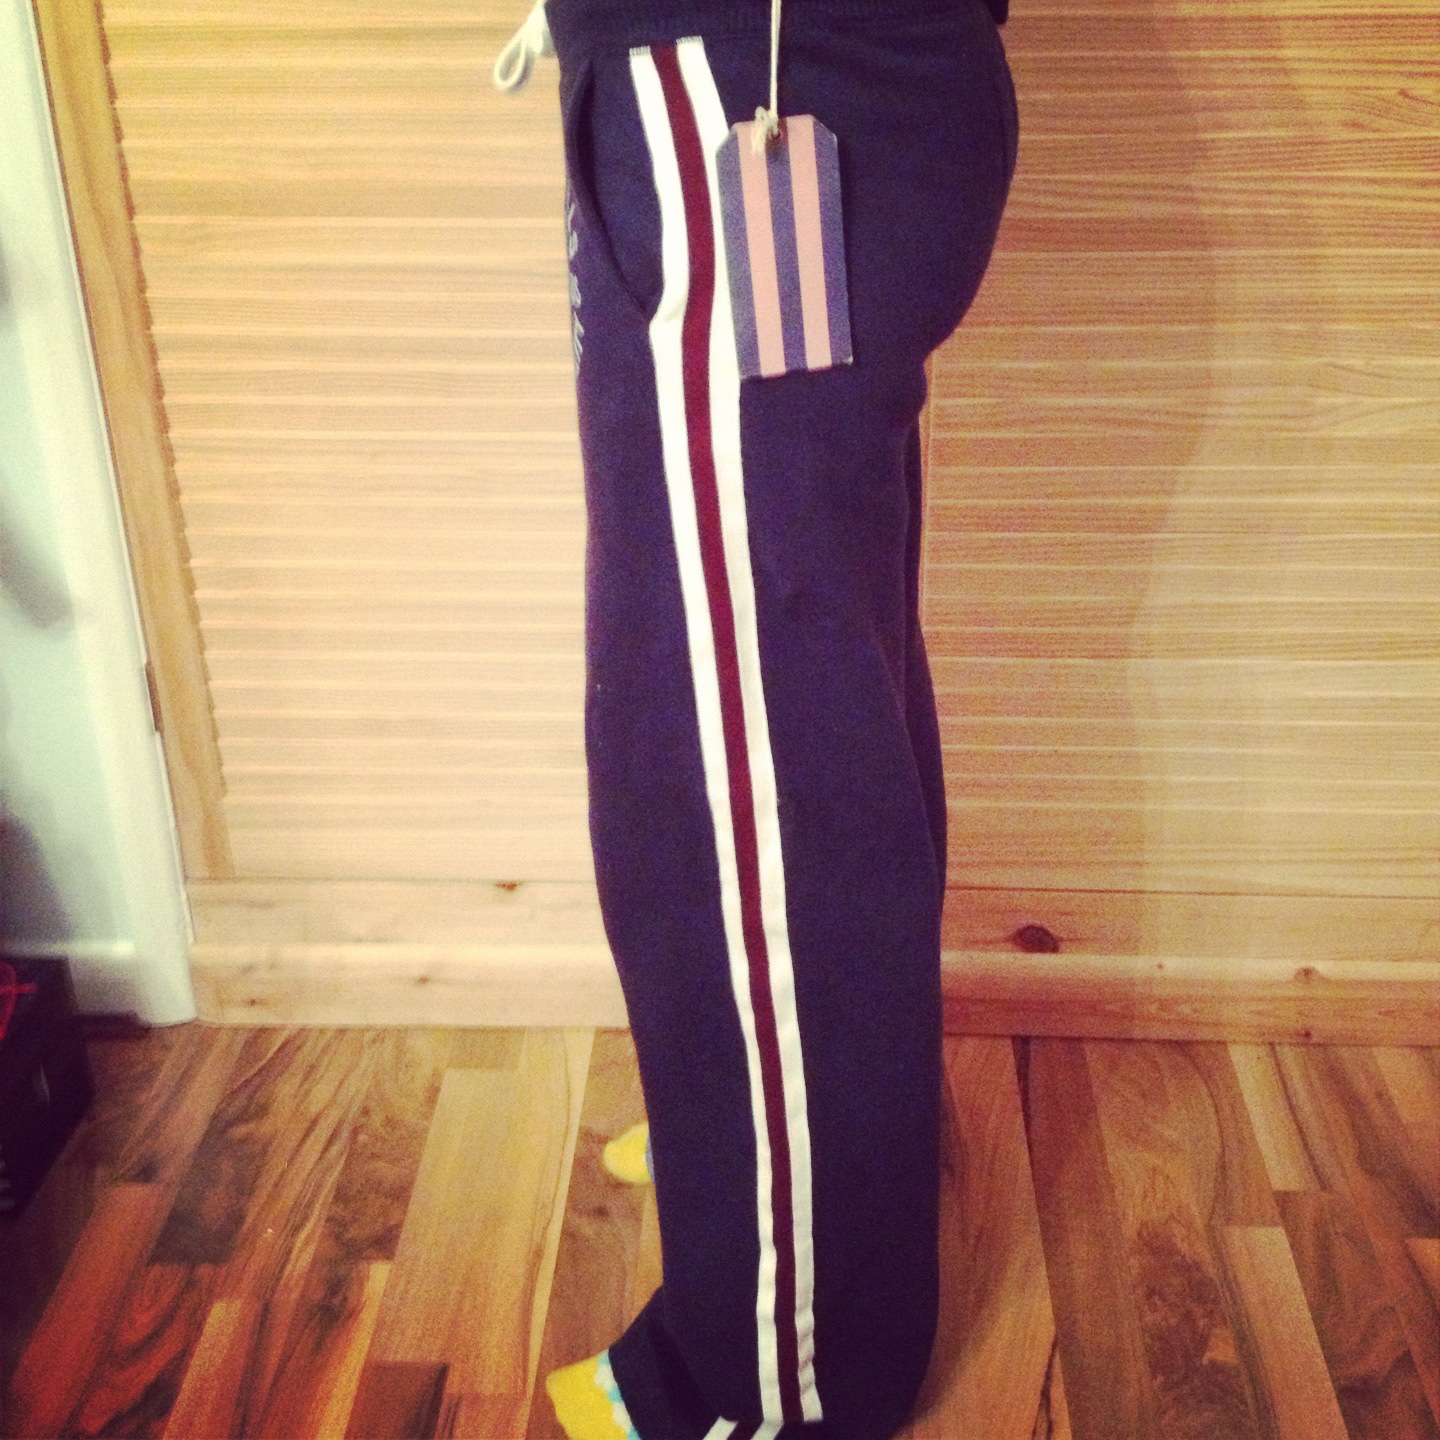
I have had my current Jack Wills Sweatpants since the age of 13. They have been worn so much at both home and University that the bottoms became straggly and ripped. So I decided that a new pair of Jack Wills was in order. Yes, these are expensive, but the material is very soft and of such high quality. More so, the fact that I have owned my old ones 8 years is proof in itself that they are long lasting and therefore worth the money.  

Hope you enjoyed this haul! Has anyone else tried any of these out? Would love to hear your thoughts!

Catriona
x x x

Monday, 12 November 2012

Enrapture Encode Totem Styler Review

So recently I have read on a few blogs how amazing the Enrapture Encode Totem Styler is and decided to check it out for myself. I was then very excited to see the recent offer on the Boots website, costing only a measly £29.99 instead of the usual price of £74.99...bargain or what!! I had to have it! I have long, straight hair which can lie pretty flat, so am always on the look out for something to give it some volume and texture. Any extra oomph is greatly appreciated, especially for that price!

For anyone who has not heard of the Totem Styler, it is a curling iron which provides different kinds of curls according to which code you use. The styler has 3 different sections on the barrel which heat up independently of each other according to which heat setting is used.
Eg.  1 - Loose curls
            2 - Medium curls 
      3 - Tight curls

I decided to use the code 1-1-2, this way the hair will graduate from a loose wave into a fuller curl, achieving natural but defined curls.


Although the styler can be used as a wand, it has a fitted mini flipper which I used to hold the end of my hair while twisting the rest around the barrel, making sure it was spread evenly from the base of the styler to the top. Afterwards, I simply sprayed the ends of my hair with a small amount of hairspray and brushed my fingers through very gently to separate the curls.  

I'm so glad that I bought this styler! The curls are gorgeous and stayed in for two whole days without touching up on hair spray at all. Usually my hair is so straight they drop out as soon as they can, so that's good going for me! I also found it incredibly easy to handle due to the swivel wire at the bottom. It comes with a stand, a heat resistant pouch to keep it safe and a booklet explaining the styler and how to achieve some looks. If you'd like any further details travel on over to www.enrapturehair.com.

Now I'm excited to try all the other combinations available!

Catriona 
x x x

Friday, 9 November 2012

Everyday Makeup Routine

Hello!
So, I've decided that my first proper post is going to be on my everyday routine as it is something which I love reading about on people's blogs, so I thought it could be of some interest! 

When creating this look I was getting ready for a normal day, not doing anything spectacular, just running errands, so I wanted to look fresh and awake without putting too much effort in. 


My everyday make up:


Everyday Wear

Everyday Wear by catrionalmacleod featuring bare escentuals


Now without further adieu, here is a step by step guide to achieving this look:

Face

I'm going to put another post up at some point about skincare so I will leave out my morning and evening skincare routine till then. Let's just say that my face is clean and moisturised!


1) Primer - bareEscentual's Prime Time primer: 


My skin isn't always the most cooperative, and in the past I have had some primers break me out in spots. But when I use this primer it seems to actually stop me from getting spots. It is not oily and does not clog your pores but actually seems to create a barrier between your skin and the make up. I really do tell the difference now from when I don't use this primer. It also not only helps my make up to stay on all day, but smooths out my skin, providing a better base for my make up, meaning that it doesn't go cakey, and who wants a cakey face? Not me! 


Application: To apply I squirt a 5 pence sized amount onto my finger, dot it around my face and smooth out.

2) Foundation - Estee Lauder Double Wear Stay-in-Place Foundation in Desert Beige: 


I would say that if I had to choose only one item of make up to use it would have to be foundation. I love how it makes my skin look and it's just that one item that I can wear with nothing else on my face quite happily. 

This particular foundation provides medium to full coverage, meaning  I don't tend to need to use any extra kind of concealer. Which is handy! I personally do not like to feel like I am wearing a lot of foundation but do like full coverage, which makes this perfect for my needs as while it does provide full coverage, it does not feel heavy on my face, and allows my skin to breathe.


Application: The brush I use to apply this foundation is the Real Techniques Stippling Brush. Using this kind of brush allows a light and natural coverage. I simply buff the foundation into my face with the brush, making sure to blend it down my neck. Don't want the dreaded foundation line!


3) Concealer - Maybelline Dream Lumi Touch Highlighting Concealer in Ivory


This concealer is unlike a normal concealer as it actually highlights. Therefore it does not do too well on spots! However, it does work well under the eyes and around the nose by lightening those areas. The formula is also lovely to work with, melting into the skin very smoothly. 


Application: To use, I twist the bottom of the highlighting concealer twice, and brush it under my eyes to cover any dark circles, and around the sides of the nose to cover redness. Then I use my fingers to blend it in. This product can also be used on the cheekbones as a highlighter. 


4) Setting Powder - bareMinerals Mineral Veil: 


To set my foundation in the day I always reach for my bareMineral's Mineral Veil. It gives a lovely glow to the face without adding any more unnecessary coverage. I hardly use any really as I find a small amount goes a long way. 

Application: I gently buff the powder across my face with a bareMinerals full flawless face brush and that's it! My foundation is then set for the day.

5) Blush - Benefit's Box of Powder in Coralista: 


This has been a favourite everyday blush of mine for a long time, and it is taking me so long to run out! I don't know how? I use it most days! When I put this on it instantly brightens up my face, giving me a lovely warm glow. I don't even need to use bronzer when I wear this as the coral warms up my face a treat! 


Appliction: To apply my blush I always go for my Sedona Lace brush in 376, it's so soft and holds on to product really well. It may actually be my favourite make up brush. I simply find the apples of my cheeks by smiling, and swirl it on.

Eyes


6) Eye Primer - Urban Decay Primer Potion: 


Before I use any eyeshadow, I always prime my eyes, and the best primer that I have found has to be Urban Decay's Primer potion. I received my miniature bottle when I was given my Naked Palette for my birthday, but since then I've gone out and bought the full size bottle so that I'm prepared for when the other runs out! When I apply my eyeshadow this primer ensures that it lasts all day without creasing and the colour is definitely more vibrant. 


Application: I simply use use the brush to dab the product onto my eyelids, then use my fingertips to gently blend it in.

7) Eyeshadow - Benefit's Big Beautiful Eyes Kit: 


I like to use this kit for a day time look as it is very wearable and I know that it always looks good, contouring your eyes nicely without looking like you have a lot of eye make up on. The kit also comes with a handy Boing concealer for under your eyes or blemishes on your face which is handy if I am on the go with this kit.

Application: Taking a flat brush, I pat the lightest shade all over my lid and use a pencil brush to apply the medium shade onto my crease. Then I blend it out with a fluffy brush. 

8) Eyeliner - Bourjois Kohl and Contour eye pencil in Brun & Caramel: 


On an everyday basis I use brown liner as it is much softer than black, which can look quite harsh for a daytime look. This kohl pencil is my favourite as it is soft and applies very smoothly, with no tugging of the eye.


Application: I line my lower lash line only half way in and then smudge it out with my finger, creating a softer effect. I then do the same with the top lash line, again I only line half way in and smudge out. This, I feel, opens up the eyes making them look bigger and more awake.

Tip: Going over the brown liner with the dark brown shade of the Benefit eye kit can deepen the look without making it look too harsh.

9) Mascara - Benefit's They're Real! Mascara: 


If you have not tried Benefit's They're Real mascara, go and try it now!! Yes it's expensive, however, it is amazing!! It provides both length and volume, parting your lashes and keeping you away from the clogged up look. Mine has lasted me a fair while now, probably about 5 months so far and I'm happy to say it has not dried out yet! I've actually had a few people ask me whether I'm wearing fake eyelashes when wearing this. Definite thumbs up. 

Application: I tend to apply only one application of mascara in the day. Although when going to work or out on the town I would then apply two applications. But on an everyday basis, starting from the root, I simply wiggle the brush through both my top and bottom lashes once, using the top of the brush to make sure all of my lashes are coated. 


10) Brows - Benefit's Brow Zings in Medium


In this kit you receive a pigmented wax and powder. These fill in your brows creating a very natural look in a way that I cannot achieve with a brow pencil, which tends to give too harsh a line, for myself anyway. 

Application: Using an angled brush, my method is to swirl my brush in both the wax and the powder, then softly brush it through my brows.

LIPS!

11) Lips - Revlon's Colourburst Lip Butter in Berry Smoothie 

Lip products are my obsession. I have so many it's getting borderline ridiculous. There are too many gorgeous colours and lovely textures! I must have them all! 


However, I know that on an everyday basis I want my lips to feel moisturised with a hint of colour to them, so I use Revlon's Colourburst Lip Butter in Berry Smoothie. It's very much a "your lips but better" kind of colour. It glides on so easily, is ultra moisturising and really does stay on a long time! If you have not yet tried Revlon's lip butters, I really recommend them, they are amazing!

Application: I apply the product from the tube like a lip balm as it does not bleed and blends into your lip without the need for a brush. Perfect!


I hope you enjoyed my everyday simple look and had as much fun reading about it as I had making it. I'd really love to hear about other products which would look nice for an everyday look, so let me know if there's anything that you think I should try!

Catriona
x x x


Wednesday, 7 November 2012

Let me introduce myself...

As you may have come to realise by the title of this blog, my name is Catriona. I have just graduated University and have been thinking of a way to continue exercising my brain cells.

Then the thought came to mind...it may be time to lose my blogging virginity. It's perfect! I can share my passion for all things beauty (passion more or less meaning obsession in this case), which not only provides me with a great excuse to try out new products and share my opinions on them, but also allows me to continue writing! Therefore, expect to see many a blog post reviewing different products ranging from make up, to hair and skin care and so on!

While this blog will be primarily beauty based, I will also no doubt throw in a few cheeky posts about other aspects of life as I will soon be travelling around Australia for a year. So you may hear about some of my Aussie adventure, hope that's okay!

Now we're introduced, I'm excited to get started!

Catriona
x x x